Overview
This is a quick run down of how to design and use Inkscape ( Free Vector Design Software) for vector and text creation.
Inkscape can be found for download offsite here – https://inkscape.org/
Designing your vectors in Inkscape is a fantastic alternative to any proprietary software that locks your designs inside, with no option to export it out. From Inkscape, you can export out you designs to any cutting software via SVG, you can also import any vectors as well.
Fonts can also be used as you would normally, with no restrictions.
We are going to run through the basics of how to setup inkscape to create a file suitable for sending to us to create a custom blank.
Document Setup
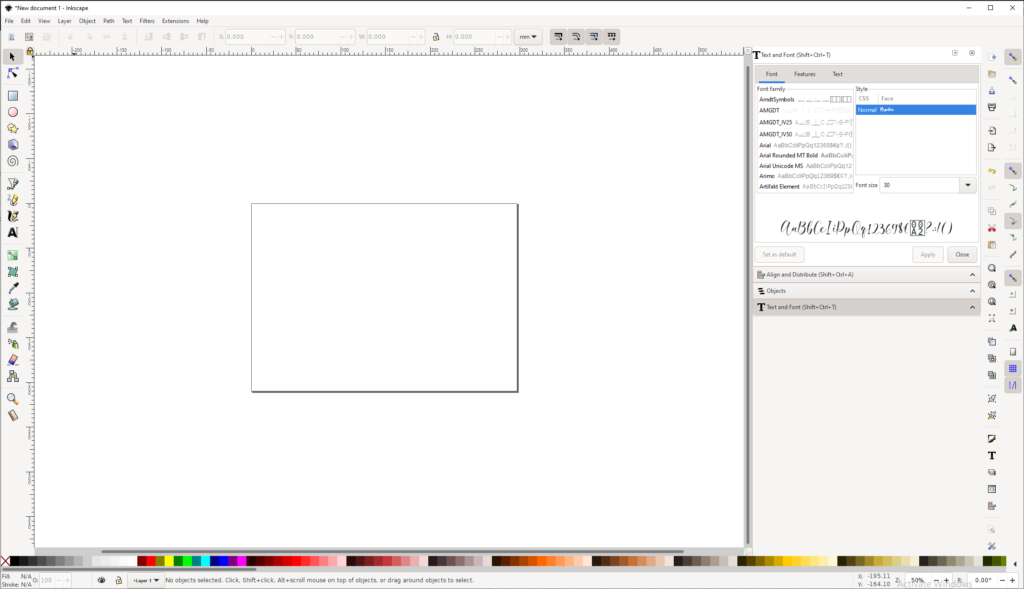
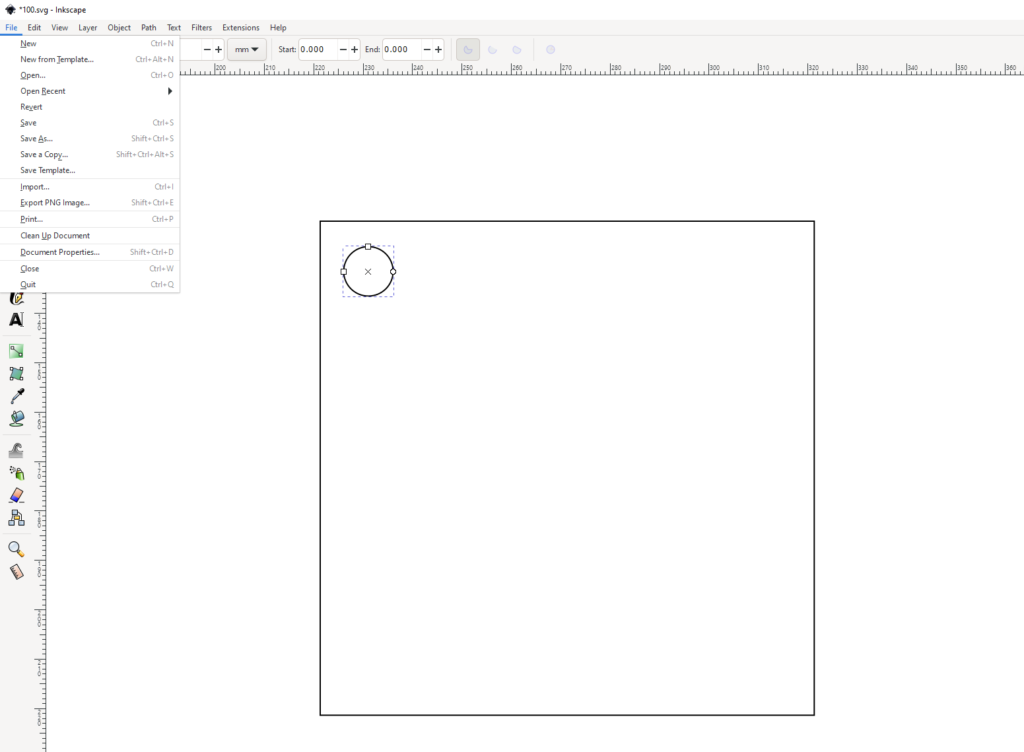
First what we want to do, is open up Inkscape, you will be presented with a white box, this represents your work area.
We want to resize this work area to match that of our sheet sizes that we have available, in order to know our boundaries based on your part size.
Our sheet sizing is as follows –
- 605x403mm
- 900x610mm
- 1220x1220mm
- 1220x2440mm
To change our workspace to match, we want to go to File > Document Properties
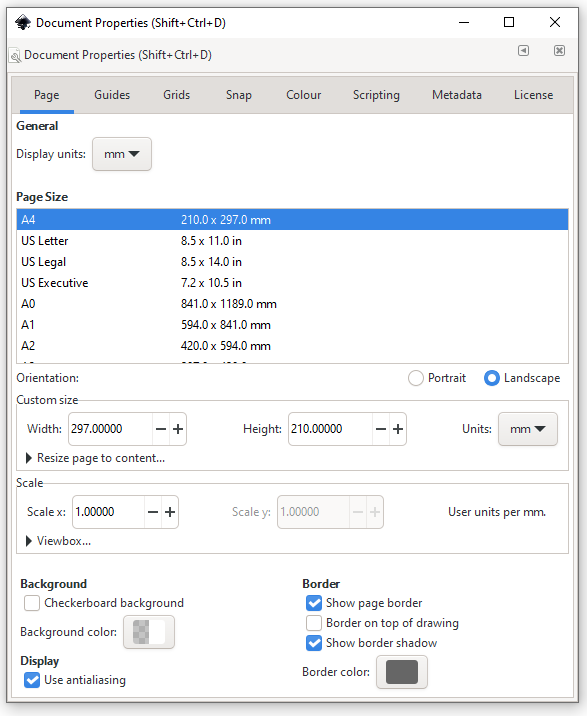
We want to set out display units to mm (Millimeters)
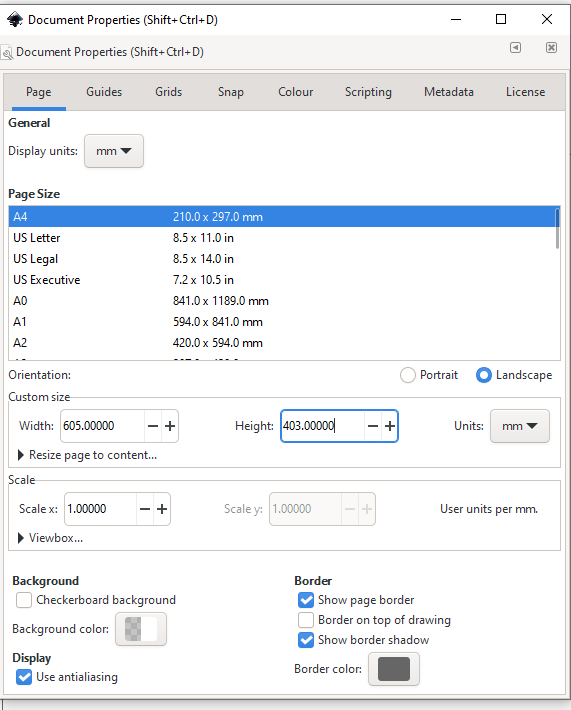
Then, where it says custom size, we want to set it to one of our sheet sizes, we will pick 605x403mm as an example. One updated it should look like this :
We can now close that window. You should have a nicely sized workspace now!
Lets create a simple blank!
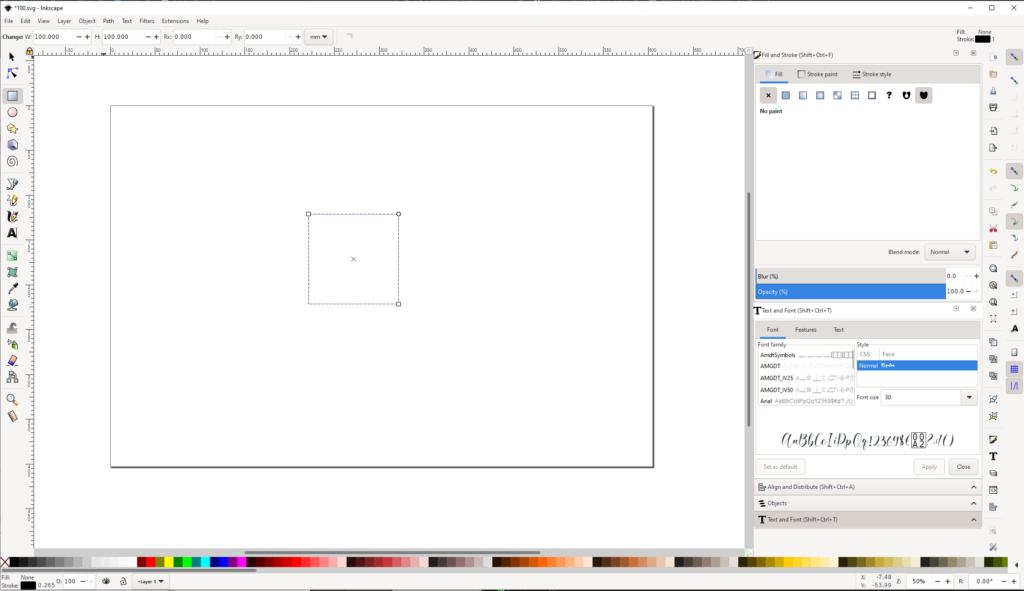
On the left we have our simple shape tools and down the bottom our stroke and fill settings. Stroke and fill will be important to remember. Basically we want to draw just outlines, so we will disable our fill on all shapes that we create.
Colours can be changed by dragging from the long row of colours into where it says Stroke:N/A

Use the square tool to create a simple square in the middle of the work area. Use the dialogs at the top of the page to set the width and height of our square to 100x100mm. If you would like it to have rounded corners, set the Rx and Ry. The Rx and Ry values need to match, so if we wanted 10mm Radius corners, we would set them to Rx:10 and Ry:10. We will keep them at 0 for now.
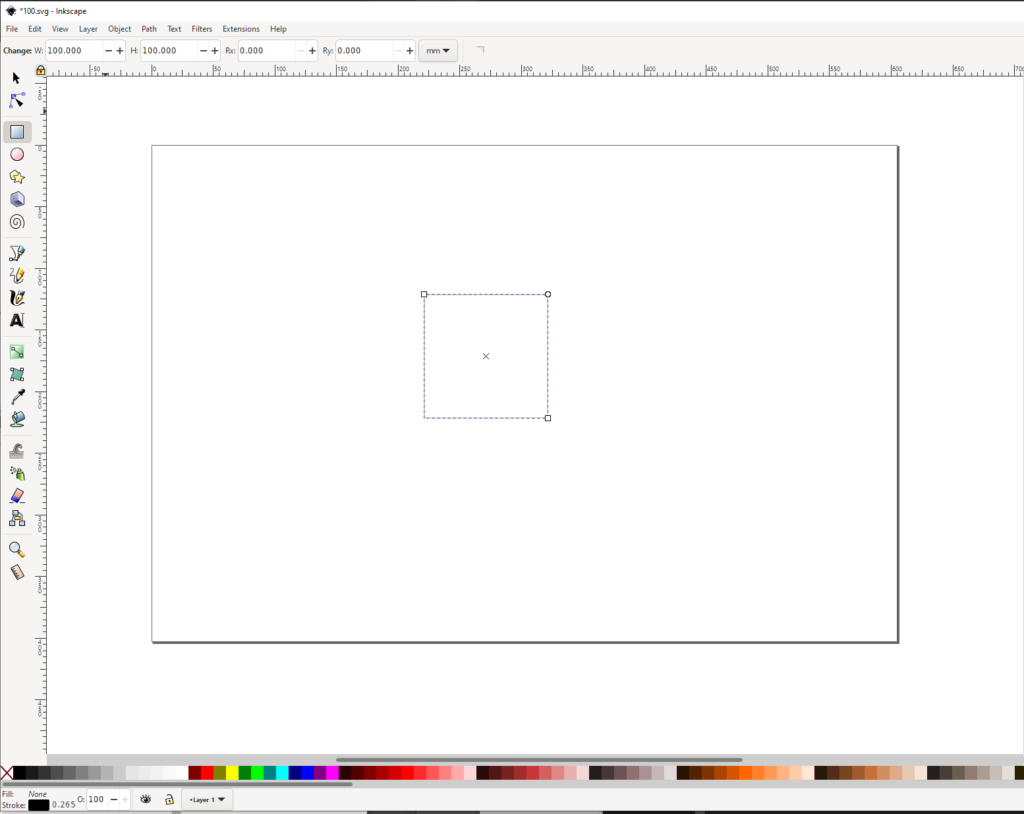
You will notice our dimensions are set at the top of the page to 100x100mm. Our stroke down the bottom is set to black and 0.265 line width, with no fill.
If you have fill enabled, simply click on the colour box next to Fill and a menu should open, click the “X” to turn fill off.
Next, lets add a simply hole to our blank. Using the circle tool beneath the square tool, click and drag a circle out on the workspace.
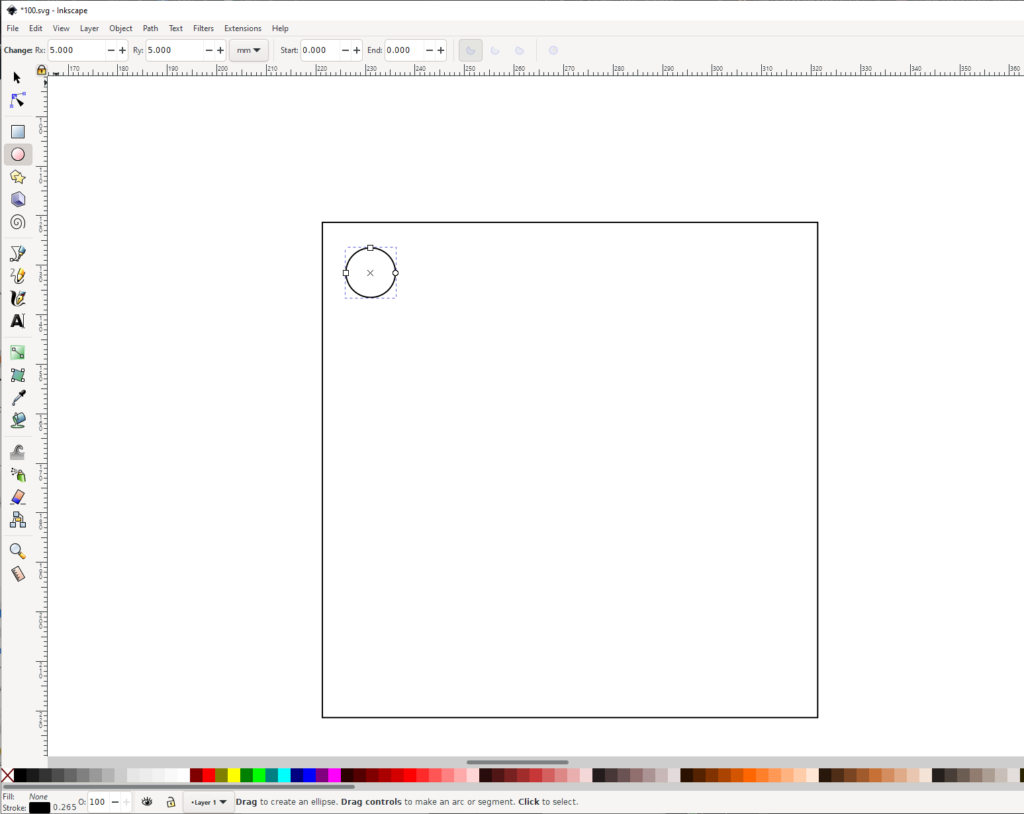
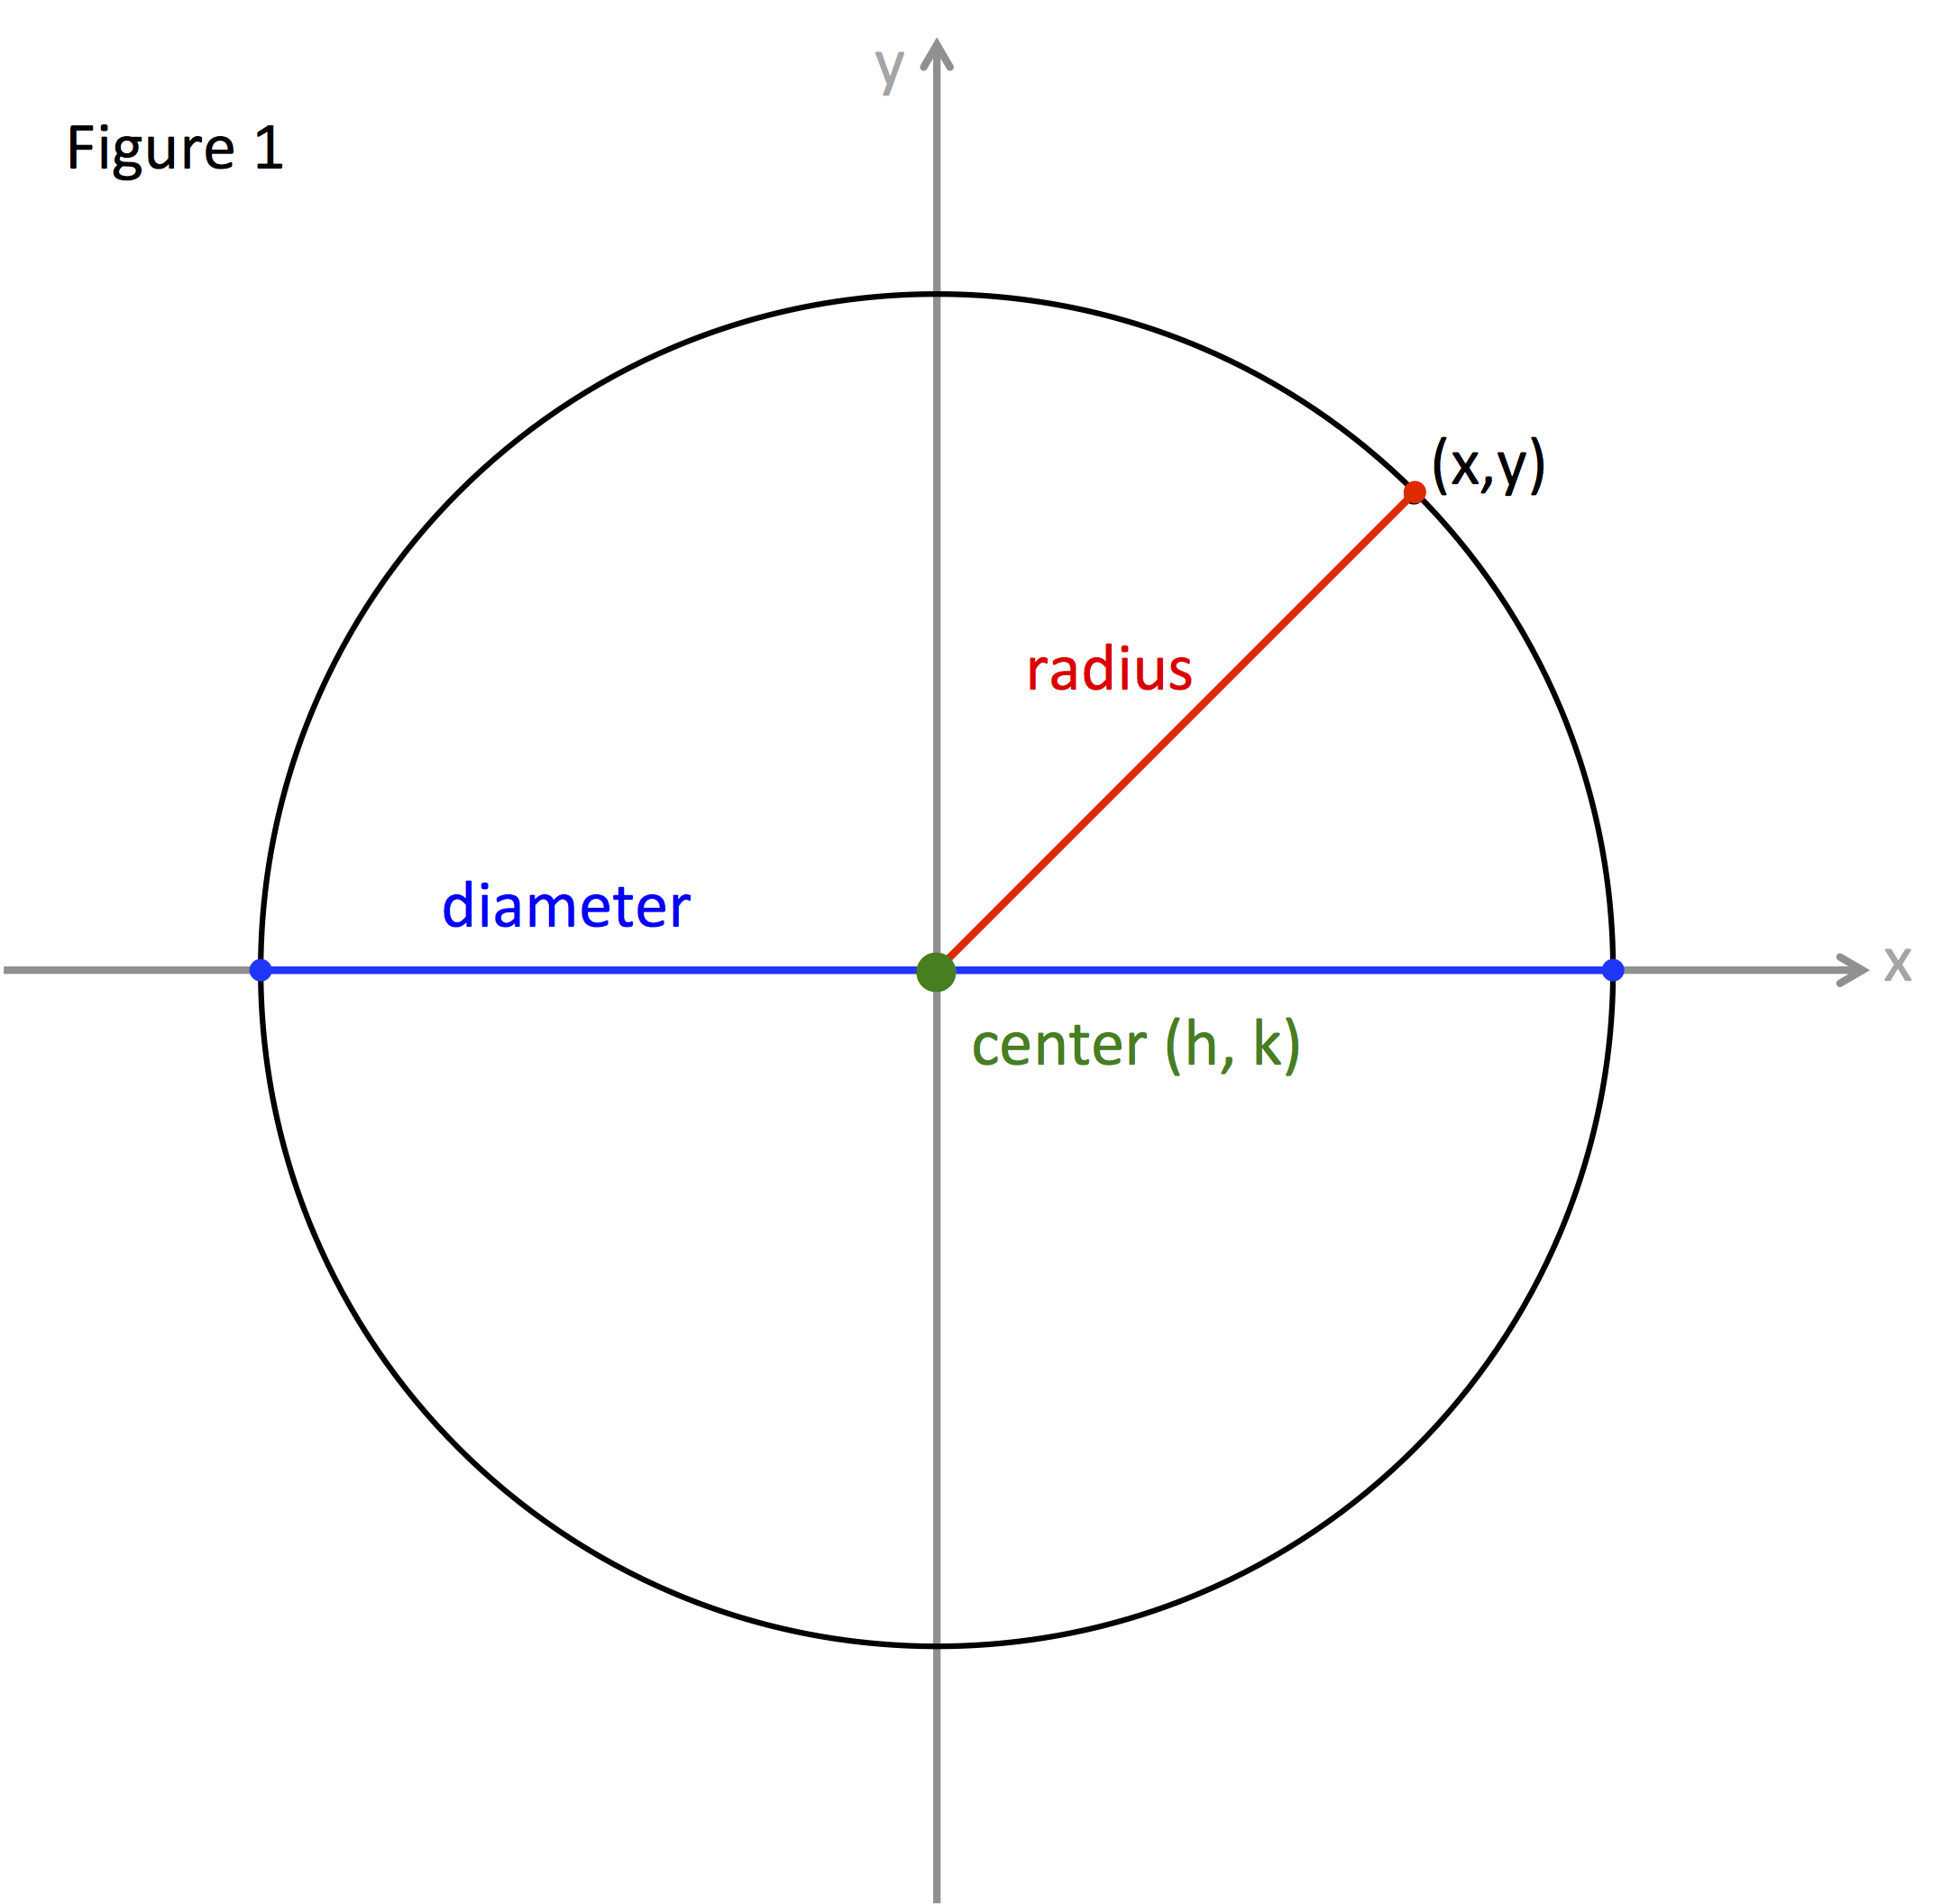
If hole placement is critical, use the coordinates to place it relative to the square. Set the size of the circle using the Rx and Ry settings, these are the radius of the circle Horizontal (Rx) and Vertically (Ry). We will create a 10mm Diameter Circle, so we want to set these both to 5mm. The radius of a circle is half its diameter.
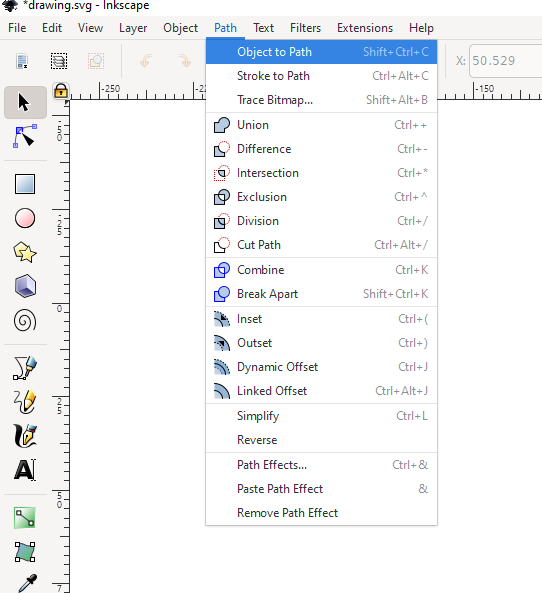
Before we export these shapes, we want to convert them from objects to path. Select all the shapes on the page and then go to Path > Object to Path to convert them. This will convert them from Inkscape objects to things our systems can read.
So for this simple intro lesson, we are pretty well done with our simple oversized keyring blank! 😂
Next we will export it and move on to importing it into our automatic quoting system for us to cut it.
We want to select “Save as copy” from the file menu and save as SVG to where ever you would like so that you can find it later.
Now we are going to load up the quoting system. http://quoting.acrylicblanks.com.au
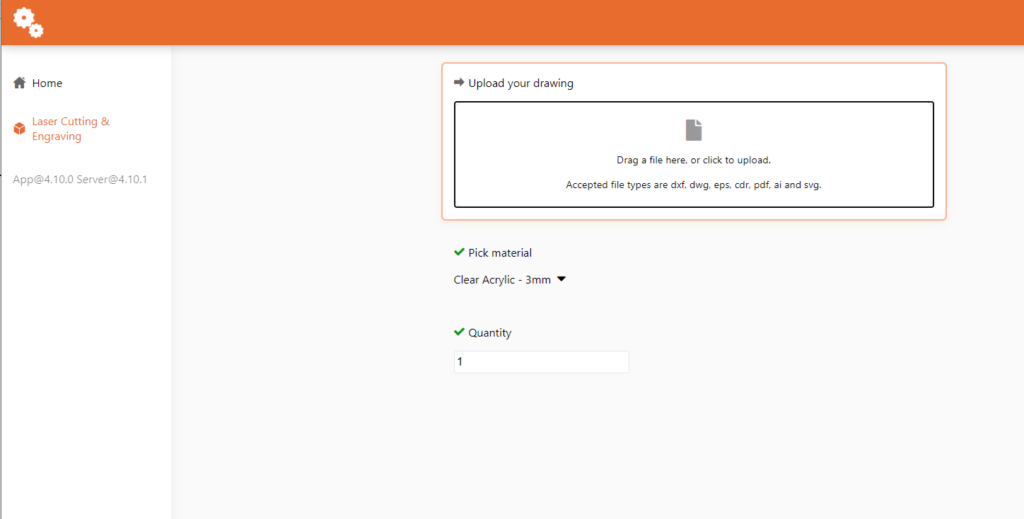
Either drag or click to upload a file, select the file you just saved.
Select your required material colour and thickness
Enter the quantity, remember the more you order the cheaper it gets!
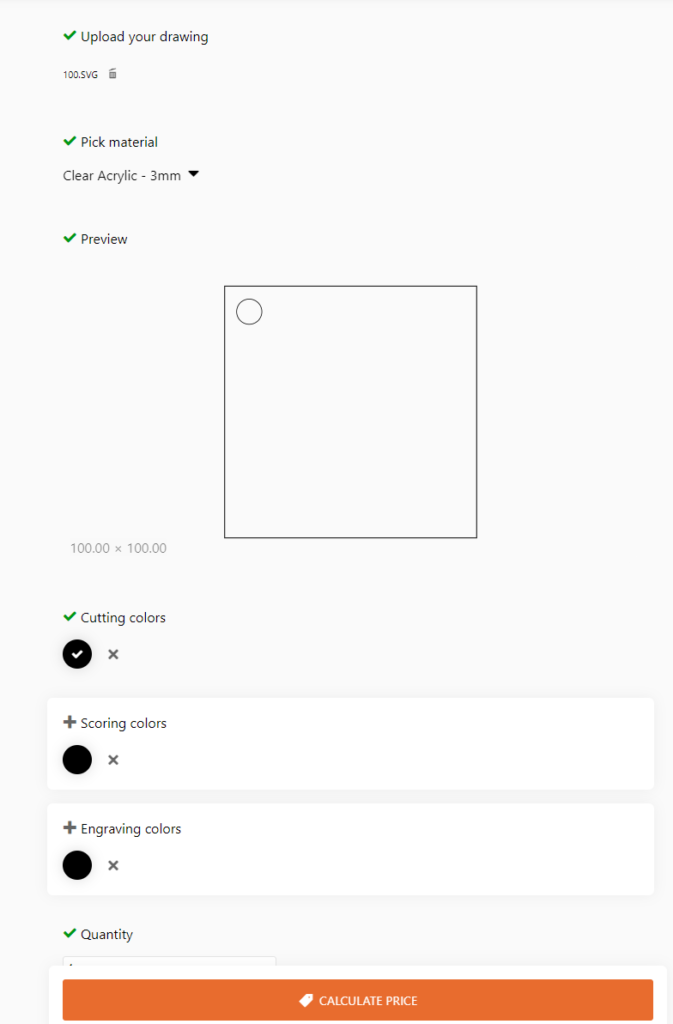
As you can see, the dimensions of the parts match that of what we set it to in Inkscape! Win!
You can now select the quantity you would like to have in this order and then calculate the price, you shouldn’t need to play with cutting colors yet. If you would like to skip ahead of our tutorials, have a play with adding extra layers into the mix, we typically use blue for engraving and red for scoring (quick movements that don’t cut all the way through.)
Don’t forget to convert objects to path, even for text, just like most other software, don’t forget to weld (Combine) the letters.
This concludes the tutorial for simple cutting of shapes. You can now add items to your cart and pay online and have it shipped to your door!